The Bridge Engineering STEM Project is a hands-on science activity that helps students understand how thermal energy affects materials and structures. In this supervised classroom project, students design and build a model bridge while learning why real bridges need room to expand and contract as temperatures change. It is a strong way to connect physics, engineering, and real-world problem-solving through an engaging STEM challenge.
📘 Overview
The built world around us reflects the laws of physics, even in structures we often take for granted. Bridges are not only shaped by design and materials, but also by unseen forces such as heat and temperature change. In this project, students examine how thermal energy affects materials and why bridge design must account for movement caused by expansion and contraction.
This activity focuses on the science behind thermal expansion and the engineering role of expansion joints. Students learn that when bridge materials absorb heat, their particles move faster and spread out, causing the structure to expand. When temperatures drop, the materials contract. Through a model bridge challenge, students connect these ideas to structural stability, design planning, and real-world engineering.
🎯 Learning Objective
- Students will understand how thermal energy affects bridge materials.
- Students will explain the concept of thermal expansion and contraction.
- Students will identify why expansion joints are necessary in bridge design.
- Students will design and build a model bridge with structural stability in mind.
- Students will apply planning, testing, and revision as part of a STEM project.
🧪 Materials
Classroom materials may vary depending on the teacher’s setup and student design. A model bridge project may include:
- Graphing paper or design software
- Used for planning the bridge layout and structure.
- Used for planning the bridge layout and structure.
- Cardboard or similar construction material
- Used to build the main bridge structure. The source specifically mentions an overlapping piece of cardboard as a simple model of an expansion joint.
- Used to build the main bridge structure. The source specifically mentions an overlapping piece of cardboard as a simple model of an expansion joint.
- Flexible paper or similar covering material
- Can be used to represent a simple expansion-joint cover.
- Can be used to represent a simple expansion-joint cover.
- Ruler and pencil
- Used for measuring and sketching the design.
- Used for measuring and sketching the design.
- Scissors
- Used for cutting materials.
- Used for cutting materials.
- Glue or tape
- Used to assemble the structure.
- Used to assemble the structure.
- Weights or testing objects
- Used to check stability and strength during testing.
- Used to check stability and strength during testing.
- Decorative materials (optional)
- May be used to improve the visual presentation of the bridge.
📝 Procedure
- Introduce the STEM challenge and explain that the goal is to design and build a stable model bridge.
- Begin with a discussion on how bridges respond to temperature changes in the real world.
- Ask students to sketch a bridge design on graphing paper or using appropriate software.
- Guide students to think about structure, stability, and where movement might happen in a real bridge.
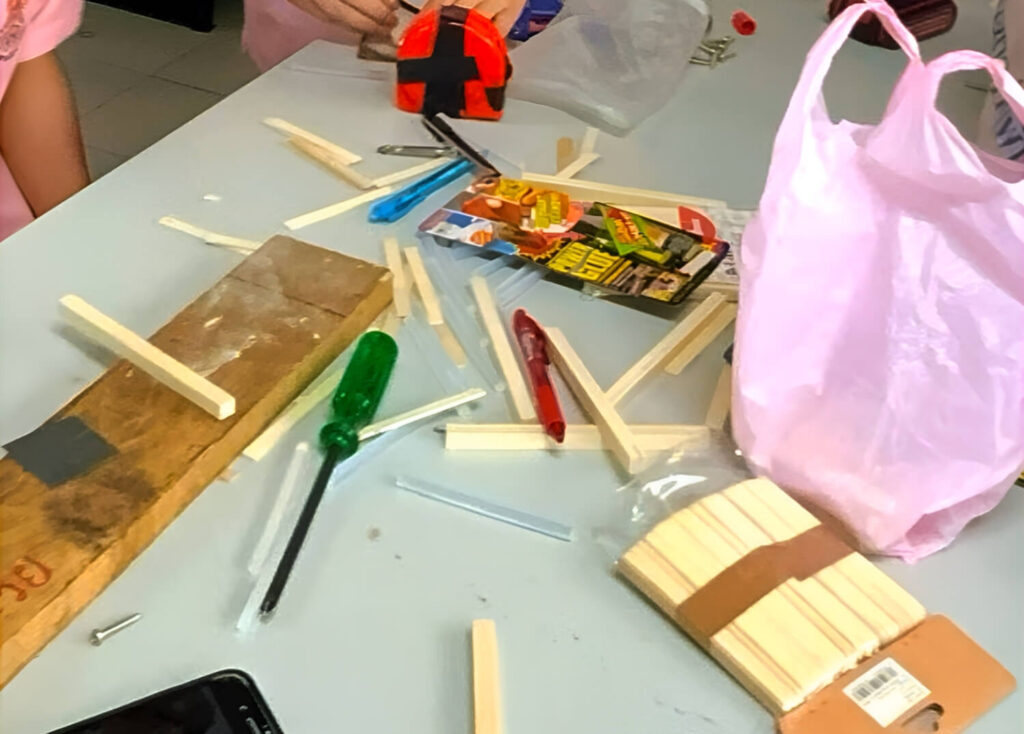
- Have students select and organize their building materials.
- Build the main bridge structure using the chosen classroom materials.
- Add a simple model of an expansion joint, such as an overlapping section or a small flexible gap, to represent how bridges allow movement.
- Allow time for students to test whether the bridge holds its shape and remains stable.
- If testing materials are available, check how well the bridge handles load or stress.
- Ask students to refine or improve the design based on what they observe.
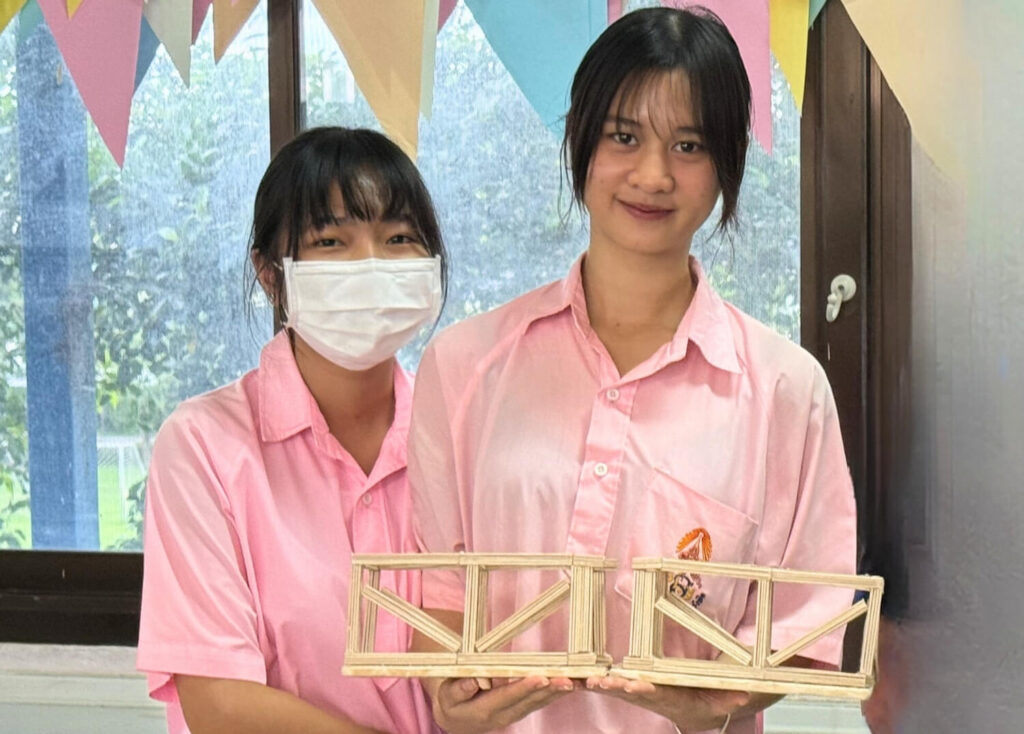
- Have each group present the final bridge and explain how thermal expansion influenced their design decisions.
- Use the presentation to connect the model to real bridges, sidewalks, and railway tracks that also require expansion space.
👀 Expected Observations
Students may observe:
- Some bridge designs are more stable than others
- Weak points become easier to notice during testing
- Bridges without a flexible section may appear too rigid
- A small designed gap or overlap can improve the model’s realism
- Structural planning affects how well the bridge handles stress
- Real-world bridge design depends on both strength and controlled movement
🧠 What’s Happening?
This project focuses on thermal expansion, which happens when materials absorb heat, and their particles begin moving faster. As this movement increases, the material expands. When the temperature drops, the particles move more slowly and the material contracts. In small objects, this change may be difficult to notice, but in large structures like bridges, it can become significant.
If a bridge were built with no room for movement, repeated expansion and contraction could create internal stress, leading to buckling, cracking, or structural failure. Engineers solve this problem by using expansion joints, which allow controlled movement inside the structure. These joints show how good engineering works with the laws of nature rather than against them.
🌟 Learning Outcomes
Students can learn several important science and engineering concepts through this project:
- Thermal Expansion
- Students understand that materials expand when heated and contract when cooled.
- Students understand that materials expand when heated and contract when cooled.
- Structural Stability
- Students learn that strong design must include both support and flexibility.
- Students learn that strong design must include both support and flexibility.
- Engineering Design
- Students apply planning, building, testing, and revision to improve a structure.
- Students apply planning, building, testing, and revision to improve a structure.
- Problem-Solving and Critical Thinking
- Students analyze design issues and make practical adjustments when needed.
- Students analyze design issues and make practical adjustments when needed.
- Scientific Inquiry
- Students observe results, reflect on weaknesses, and refine their work.
- Students observe results, reflect on weaknesses, and refine their work.
- Connecting Theory to Reality
- Students relate bridge design to real-world examples such as bridges, sidewalks, and railway tracks.
🎓 Classroom Notes
- This project works best as a supervised STEM design-and-build activity.
- It is especially effective for connecting thermal energy to real-world engineering.
- The strongest teaching value comes from planning, testing, revising, and presenting.
- Students can compare bridge designs and explain how structure affects stability.
- The project also helps students connect classroom physics to bridges, sidewalks, and railway tracks in everyday life.
💬 Discussion Questions
- What is thermal expansion?
- Why do bridge materials change when temperatures rise or fall?
- Why can thermal expansion become a problem in large structures?
- What is an expansion joint?
- How does an expansion joint protect a bridge?
- Why is a bridge design not only about strength but also about movement?
- What happened when students tested their bridge models?
- How does this project connect physics to engineering?
- Where else can expansion joints be seen in daily life?
- Why is planning important before building a bridge model?
🚀 Extension / Challenge
- Compare two bridge designs and explain which one appears more stable.
- Research how expansion joints look in real bridges.
- Create a labeled diagram showing where a model bridge should allow movement.
- Compare thermal expansion in bridges with gaps in sidewalks or railway tracks.
- Test which building material makes the strongest classroom bridge.
- Explain how heat affects molecules inside solid materials.
- Design a second bridge model with a different joint system.
- Reflect on how engineers balance flexibility and strength.
- Write a short paragraph on why thermal expansion matters in construction.
- Present one way this project connects science learning to the real world.
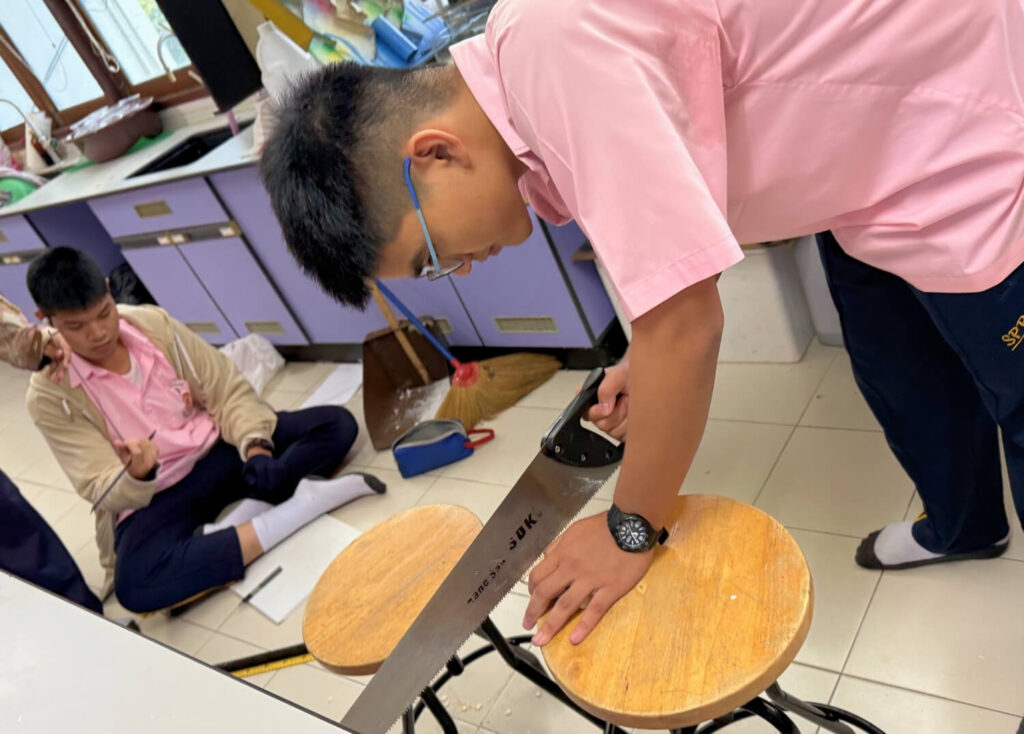
⚠️ Safety Note
This project should be carried out in a controlled classroom setting under teacher supervision. Students should use scissors, tools, and testing materials carefully, and all construction and stress-testing activities should follow proper classroom safety procedures.
📂 Media & Resources
For downloadable files and complete teaching resources, visit our Download Center.