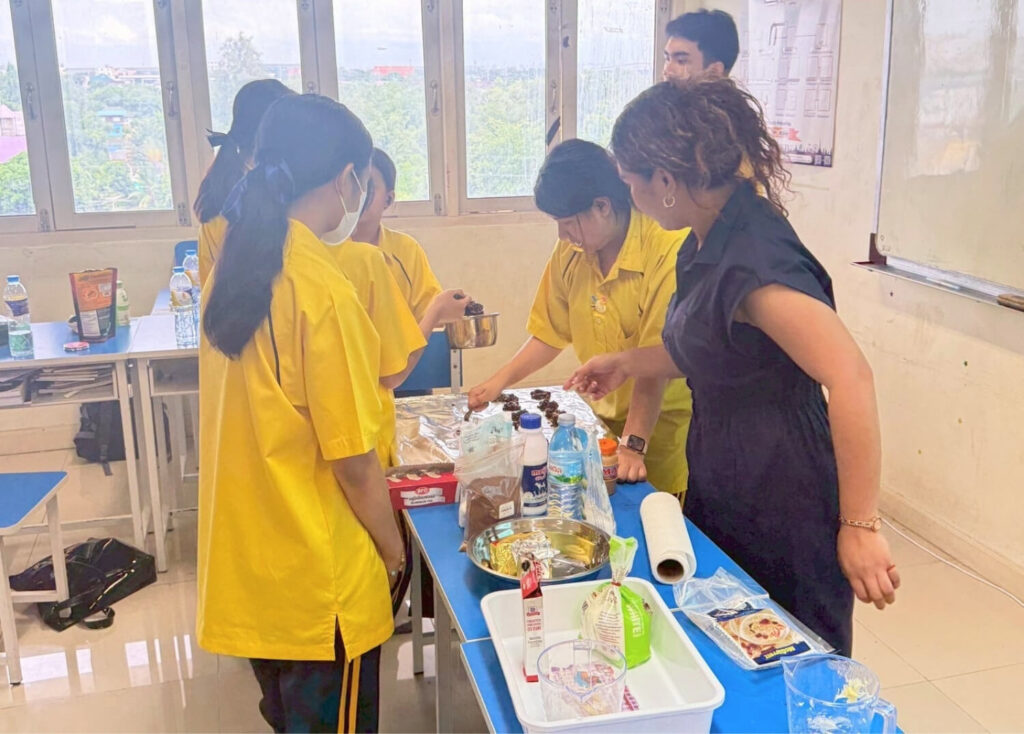
The No-Bake Cookie Food Science Lab is a hands-on culinary chemistry activity that helps students understand how ingredient ratios, boiling time, and temperature control affect texture, flavor, and consistency. In this supervised classroom or laboratory activity, students prepare no-bake cookies while observing how sugar, fat, liquid, and oats work together to create a final product. It is a fun way to connect food preparation with scientific inquiry.
📘 Overview
No-bake cookies may look simple, but they involve important food science concepts. Unlike baked cookies, they depend on sugar crystallization, fat emulsification, evaporation, and dry ingredients that help bind the mixture together. Small changes in ingredient amounts or boiling time can create cookies that are soft, sticky, firm, crumbly, smooth, or grainy.
This activity focuses on the question: How do ingredient ratios and boiling time affect the texture, flavor, and consistency of a no-bake cookie?
Students measure, heat, stir, shape, cool, taste, and evaluate their cookies, turning a familiar dessert into a clear food science investigation.
🎯 Learning Objective
- Students will understand how ingredient ratios affect the texture and consistency of no-bake cookies.
- Students will observe how boiling time changes the final product.
- Students will explain how sugar crystallization helps cookies set.
- Students will identify the roles of sugar, milk, butter, cocoa powder, oats, peanut butter, and vanilla.
- Students will practice observation, taste testing, evaluation, and scientific explanation.
🧪 Materials
Ingredients
- Sugar
- Adds sweetness and helps form the structure of the cookie through syrup formation and crystallization.
- Adds sweetness and helps form the structure of the cookie through syrup formation and crystallization.
- Milk
- Provides liquid for dissolving sugar and helps form the syrup mixture.
- Provides liquid for dissolving sugar and helps form the syrup mixture.
- Butter
- Adds richness, supports texture, and helps bind the mixture.
- Adds richness, supports texture, and helps bind the mixture.
- Cocoa powder
- Adds flavor and can affect moisture absorption.
- Adds flavor and can affect moisture absorption.
- Oats / Oatmeal
- Acts as the dry binder that gives the cookies body and chewiness.
- Acts as the dry binder that gives the cookies body and chewiness.
- Peanut butter
- Adds flavor, fat, protein, and binding support.
- Adds flavor, fat, protein, and binding support.
- Vanilla extract
- Adds flavor to the final cookie.
Equipment
- Hot plates
- Used as the heat source for cooking the mixture.
- Used as the heat source for cooking the mixture.
- Extension cable
- Used to support the classroom setup when needed.
- Used to support the classroom setup when needed.
- Pot
- Used to heat and combine the ingredients.
- Used to heat and combine the ingredients.
- Spatula or spoon
- Used for stirring and mixing.
- Used for stirring and mixing.
- Wax paper
- Used as the surface where the cookies are dropped and cooled.
- Used as the surface where the cookies are dropped and cooled.
- Bowl
- Used for holding or mixing ingredients.
- Used for holding or mixing ingredients.
- Pot holder
- Used to handle hot equipment safely.
- Used to handle hot equipment safely.
- Tissue
- Used for cleanup during or after the activity.
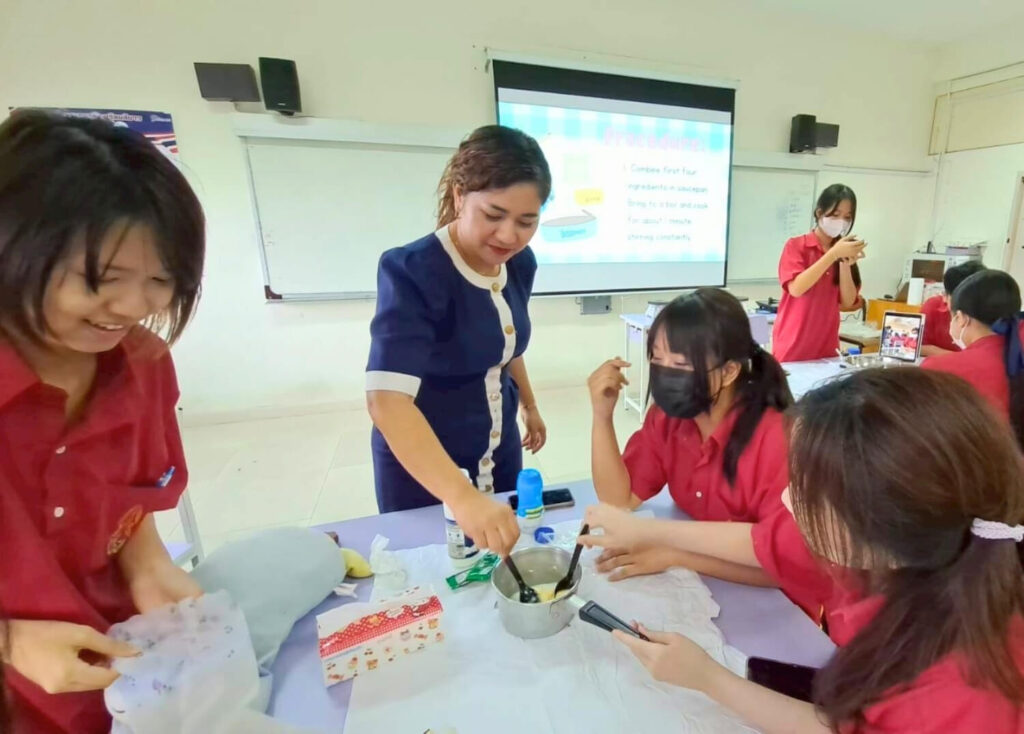
📝 Procedure
- Prepare all ingredients and equipment before beginning the activity.
- Review the investigation question about how ingredient ratios and boiling time affect the cookie’s texture, flavor, and consistency.
- Combine the first four ingredients in a saucepan: sugar, milk, butter, and cocoa powder
. - Heat the mixture using a hot plate.
- Bring the mixture to a boil.
- Cook for about 1 minute, stirring constantly.
- Remove the saucepan from the heat.
- Stir in the peanut butter, vanilla extract, and oatmeal.
- Mix until the ingredients are evenly combined.
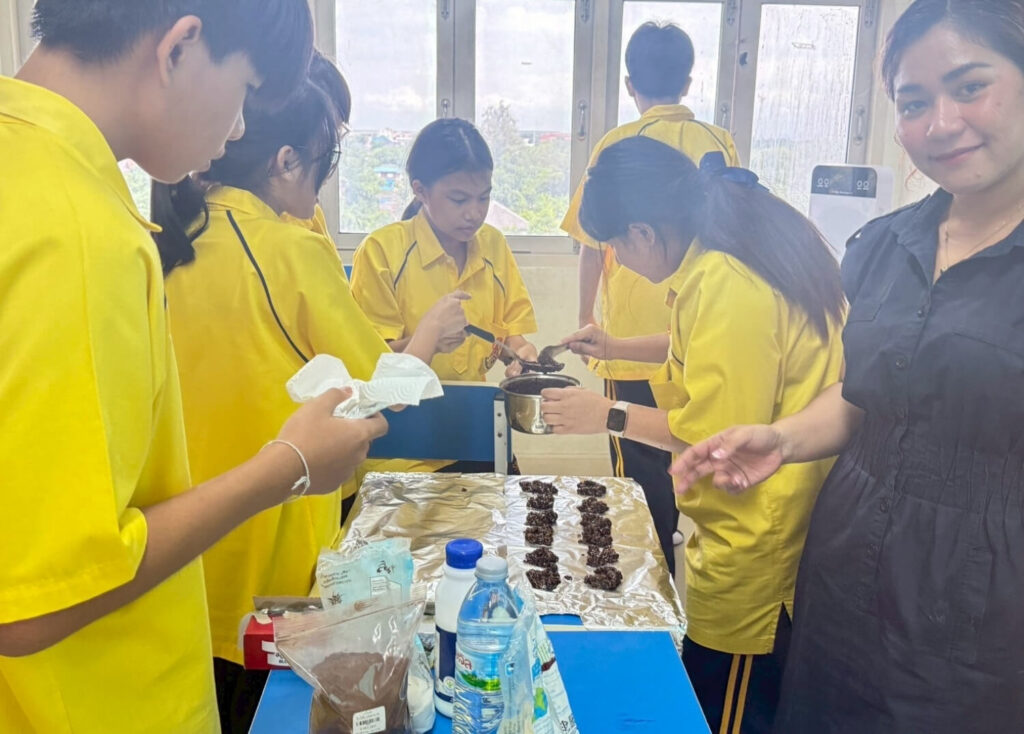
- Drop spoonfuls of the mixture onto a cookie sheet or surface covered with wax paper.
- Let the cookies cool and set.
- Complete the worksheet by observing, tasting, and rating the cookie.
- Describe the final texture, flavor, and consistency.
- Compare results with other groups if different ratios or boiling times were tested.
- Clean the workspace, tools, and equipment after the activity.
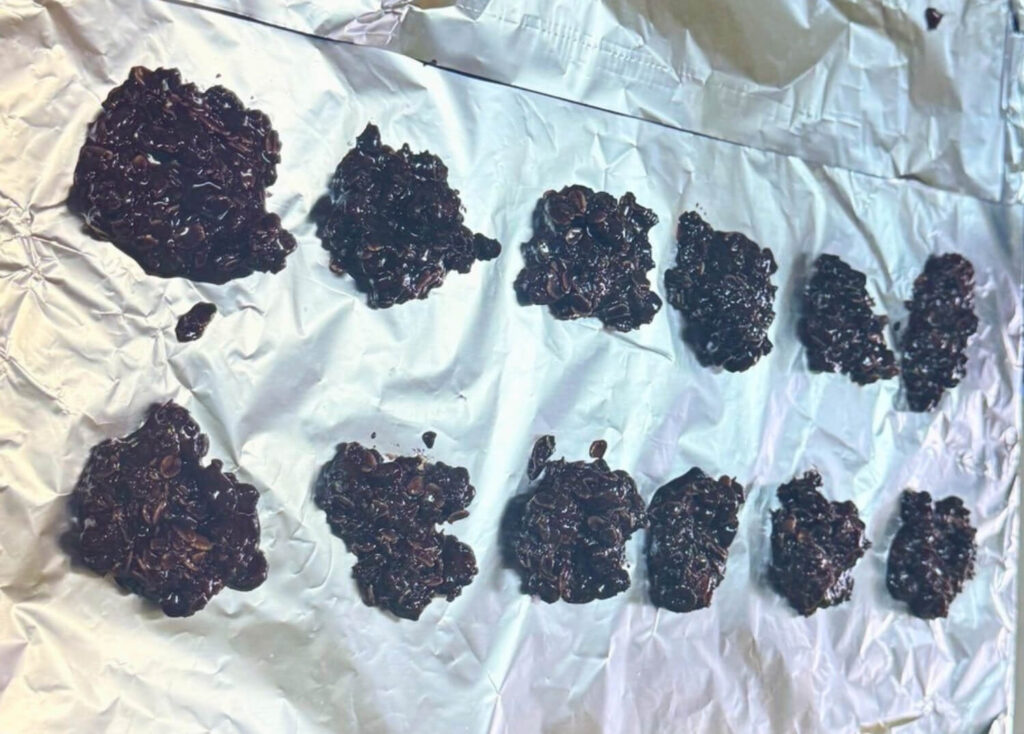
👀 Expected Observations
Students may observe:
- The sugar, milk, butter, and cocoa mixture changes into a syrup as it heats
- The mixture thickens as water evaporates during boiling
- Cookies set more firmly after cooling
- Under-boiled mixtures may stay soft, sticky, or unable to hold shape
- Over-boiled mixtures may become dry, crumbly, or grainy
- Oats help absorb moisture and give the cookies structure
- Peanut butter and butter affect richness, binding, and texture
- Different groups may produce cookies with different firmness, chewiness, or flavor balance
🧠 What’s Happening?
No-bake cookies set because of changes that happen during heating and cooling. When sugar dissolves in the liquid and the mixture boils, some water evaporates. This increases the sugar concentration and helps form a syrup that can set as it cools. If the boiling time is too short, the syrup may remain too thin, causing the cookies to stay soft or sticky. If it boils too long, too much water may evaporate, making the cookies crumbly or grainy.
The ingredients also work together to shape the final cookie. Butter adds fat and richness, peanut butter helps bind the mixture, cocoa powder adds flavor and can absorb moisture, and oats provide bulk and structure. The final texture depends on how well these ingredients are balanced with the boiling time. This makes the activity a useful example of food science, material science, and experimental design.
🌟 Learning Outcomes
Students can learn several important concepts and skills through this experiment:
- Ingredient Ratios
- Students understand how different amounts of sugar, liquid, fat, and oats affect the final cookie.
- Students understand how different amounts of sugar, liquid, fat, and oats affect the final cookie.
- Boiling Time
- Students observe how heating time changes texture and consistency.
- Students observe how heating time changes texture and consistency.
- Sugar Crystallization
- Students learn how dissolved sugar can help cookies set as the mixture cools.
- Students learn how dissolved sugar can help cookies set as the mixture cools.
- Evaporation
- Students connect boiling to water loss and increased syrup concentration.
- Students connect boiling to water loss and increased syrup concentration.
- Food Texture and Consistency
- Students evaluate whether the cookie is sticky, soft, firm, chewy, crumbly, or grainy.
- Students evaluate whether the cookie is sticky, soft, firm, chewy, crumbly, or grainy.
- Scientific Inquiry
- Students ask a question, test a process, observe results, and form conclusions.
- Students ask a question, test a process, observe results, and form conclusions.
- Collaboration and Evaluation
- Students work together, compare outcomes, and explain their findings.
🎓 Classroom Notes
- This activity works best as a supervised classroom or laboratory food science project.
- It is especially effective for connecting chemistry and physics to everyday food preparation.
- The strongest teaching value comes from comparing different results rather than only following the recipe.
- Students should be encouraged to describe texture, flavor, appearance, and consistency using clear observations.
- This activity supports teamwork, measurement skills, scientific discussion, and practical problem-solving.
💬 Discussion Questions
- How did boiling time affect the final cookie texture?
- What happened when the sugar mixture was heated?
- Why is constant stirring important during boiling?
- What role does sugar play in helping the cookie set?
- How do oats affect the structure of the cookie?
- What might happen if too much liquid is used?
- What might happen if the mixture is boiled too long?
- How does peanut butter affect texture and flavor?
- Which observations helped you judge whether the cookie was successful?
- Why is this activity a good example of food science?
🚀 Extension / Challenge
- Test two different boiling times and compare the final texture.
- Compare cookies with different sugar-to-liquid ratios.
- Try quick oats and old-fashioned oats, then compare texture.
- Create a rating chart for texture, flavor, appearance, and consistency.
- Record whether each batch is sticky, firm, chewy, crumbly, or grainy.
- Research how sugar crystallization affects candy and desserts.
- Compare no-bake cookies with baked cookies in terms of science concepts.
- Explain how evaporation changes the mixture during boiling.
- Design a mini-experiment changing only one ingredient amount.
- Write a conclusion answering the main question using evidence from the cookie results.
⚠️ Safety Note
This experiment involves hot plates, hot saucepans, and heated sugar mixtures, so it should only be carried out in a controlled classroom or laboratory setting under teacher supervision.
Students should use pot holders, avoid touching hot surfaces, and stir carefully to prevent splashes or burns. Teachers should also check for food allergies, especially to ingredients such as peanuts, dairy, oats, or cocoa, and ensure proper hygiene and cleanup procedures are followed.
📂 Media & Resources
For downloadable files and complete teaching resources, visit our Download Center.